Today we’re going in deep on how I made the last frame of Page 6 of the Miracle. It’ll be a pretty technical discussion on how to make meshes and particle systems in Blender, but if that’s what you want to know more about, hopefully you’ll get all the details you need from this post. By the way, I do assume you have basic knowledge of Blender — how to navigate around the UI and how to reach various panels. Read on for all the technical details.
The Pencils
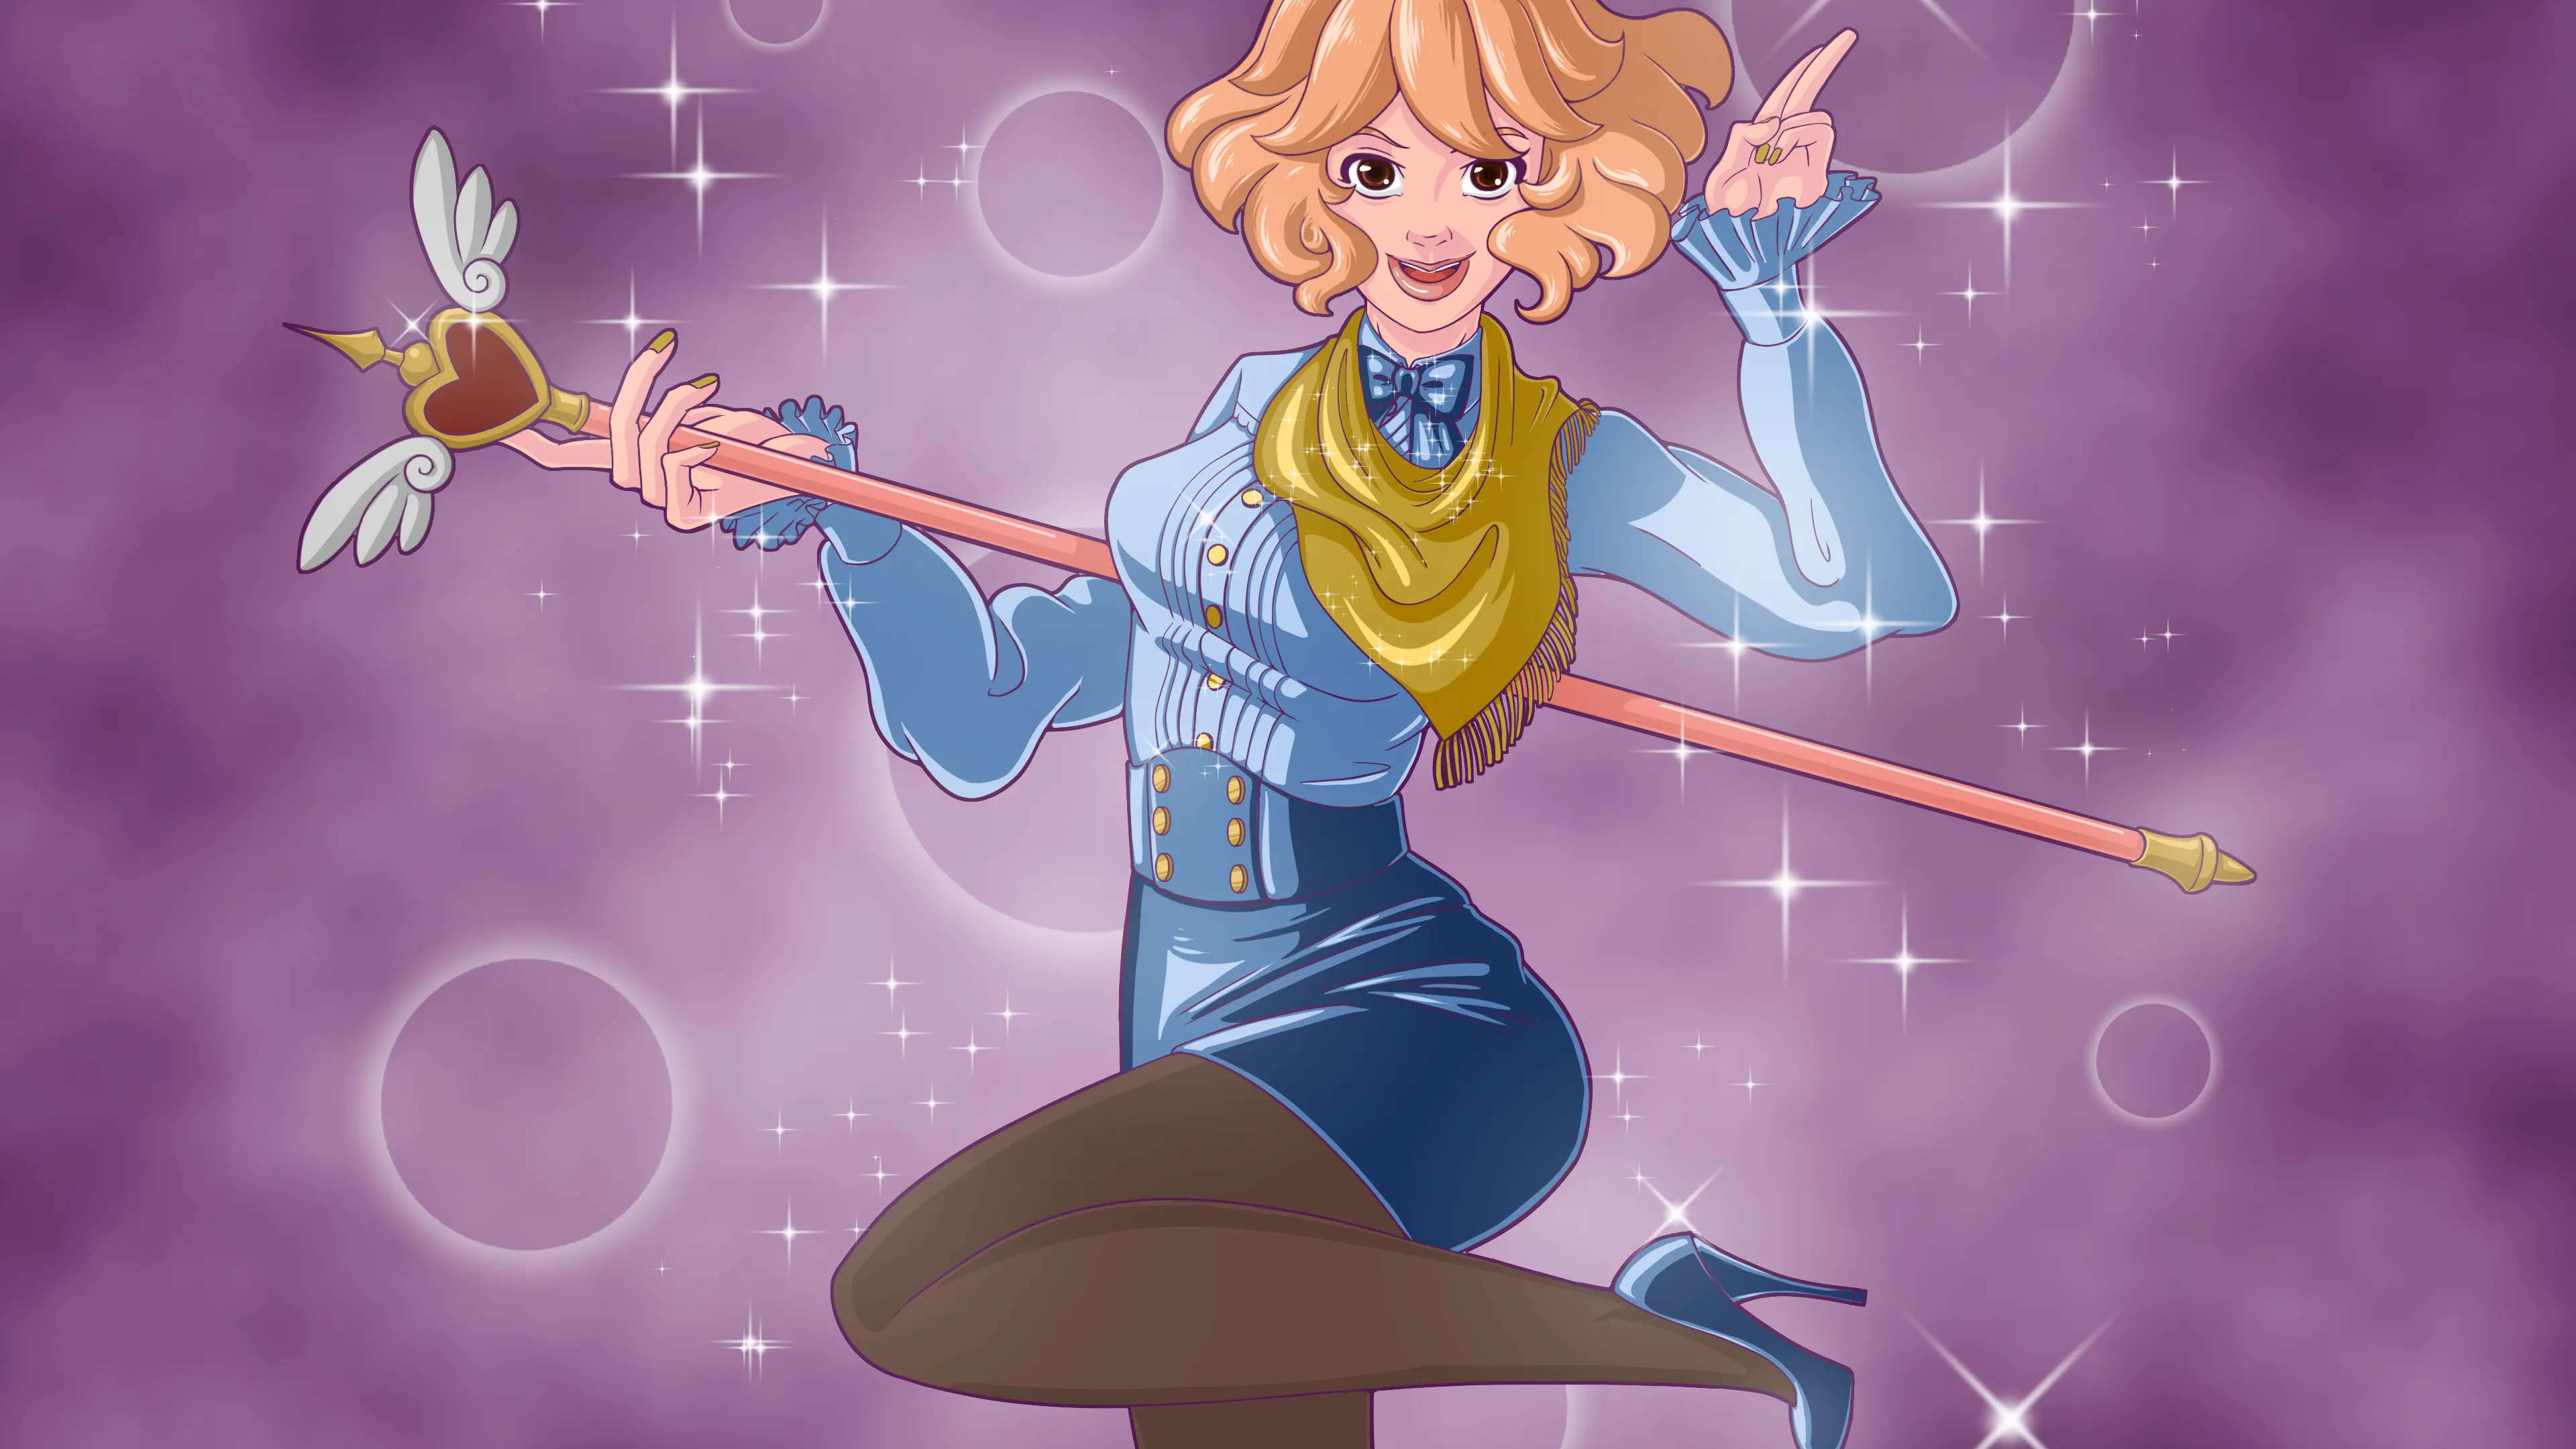
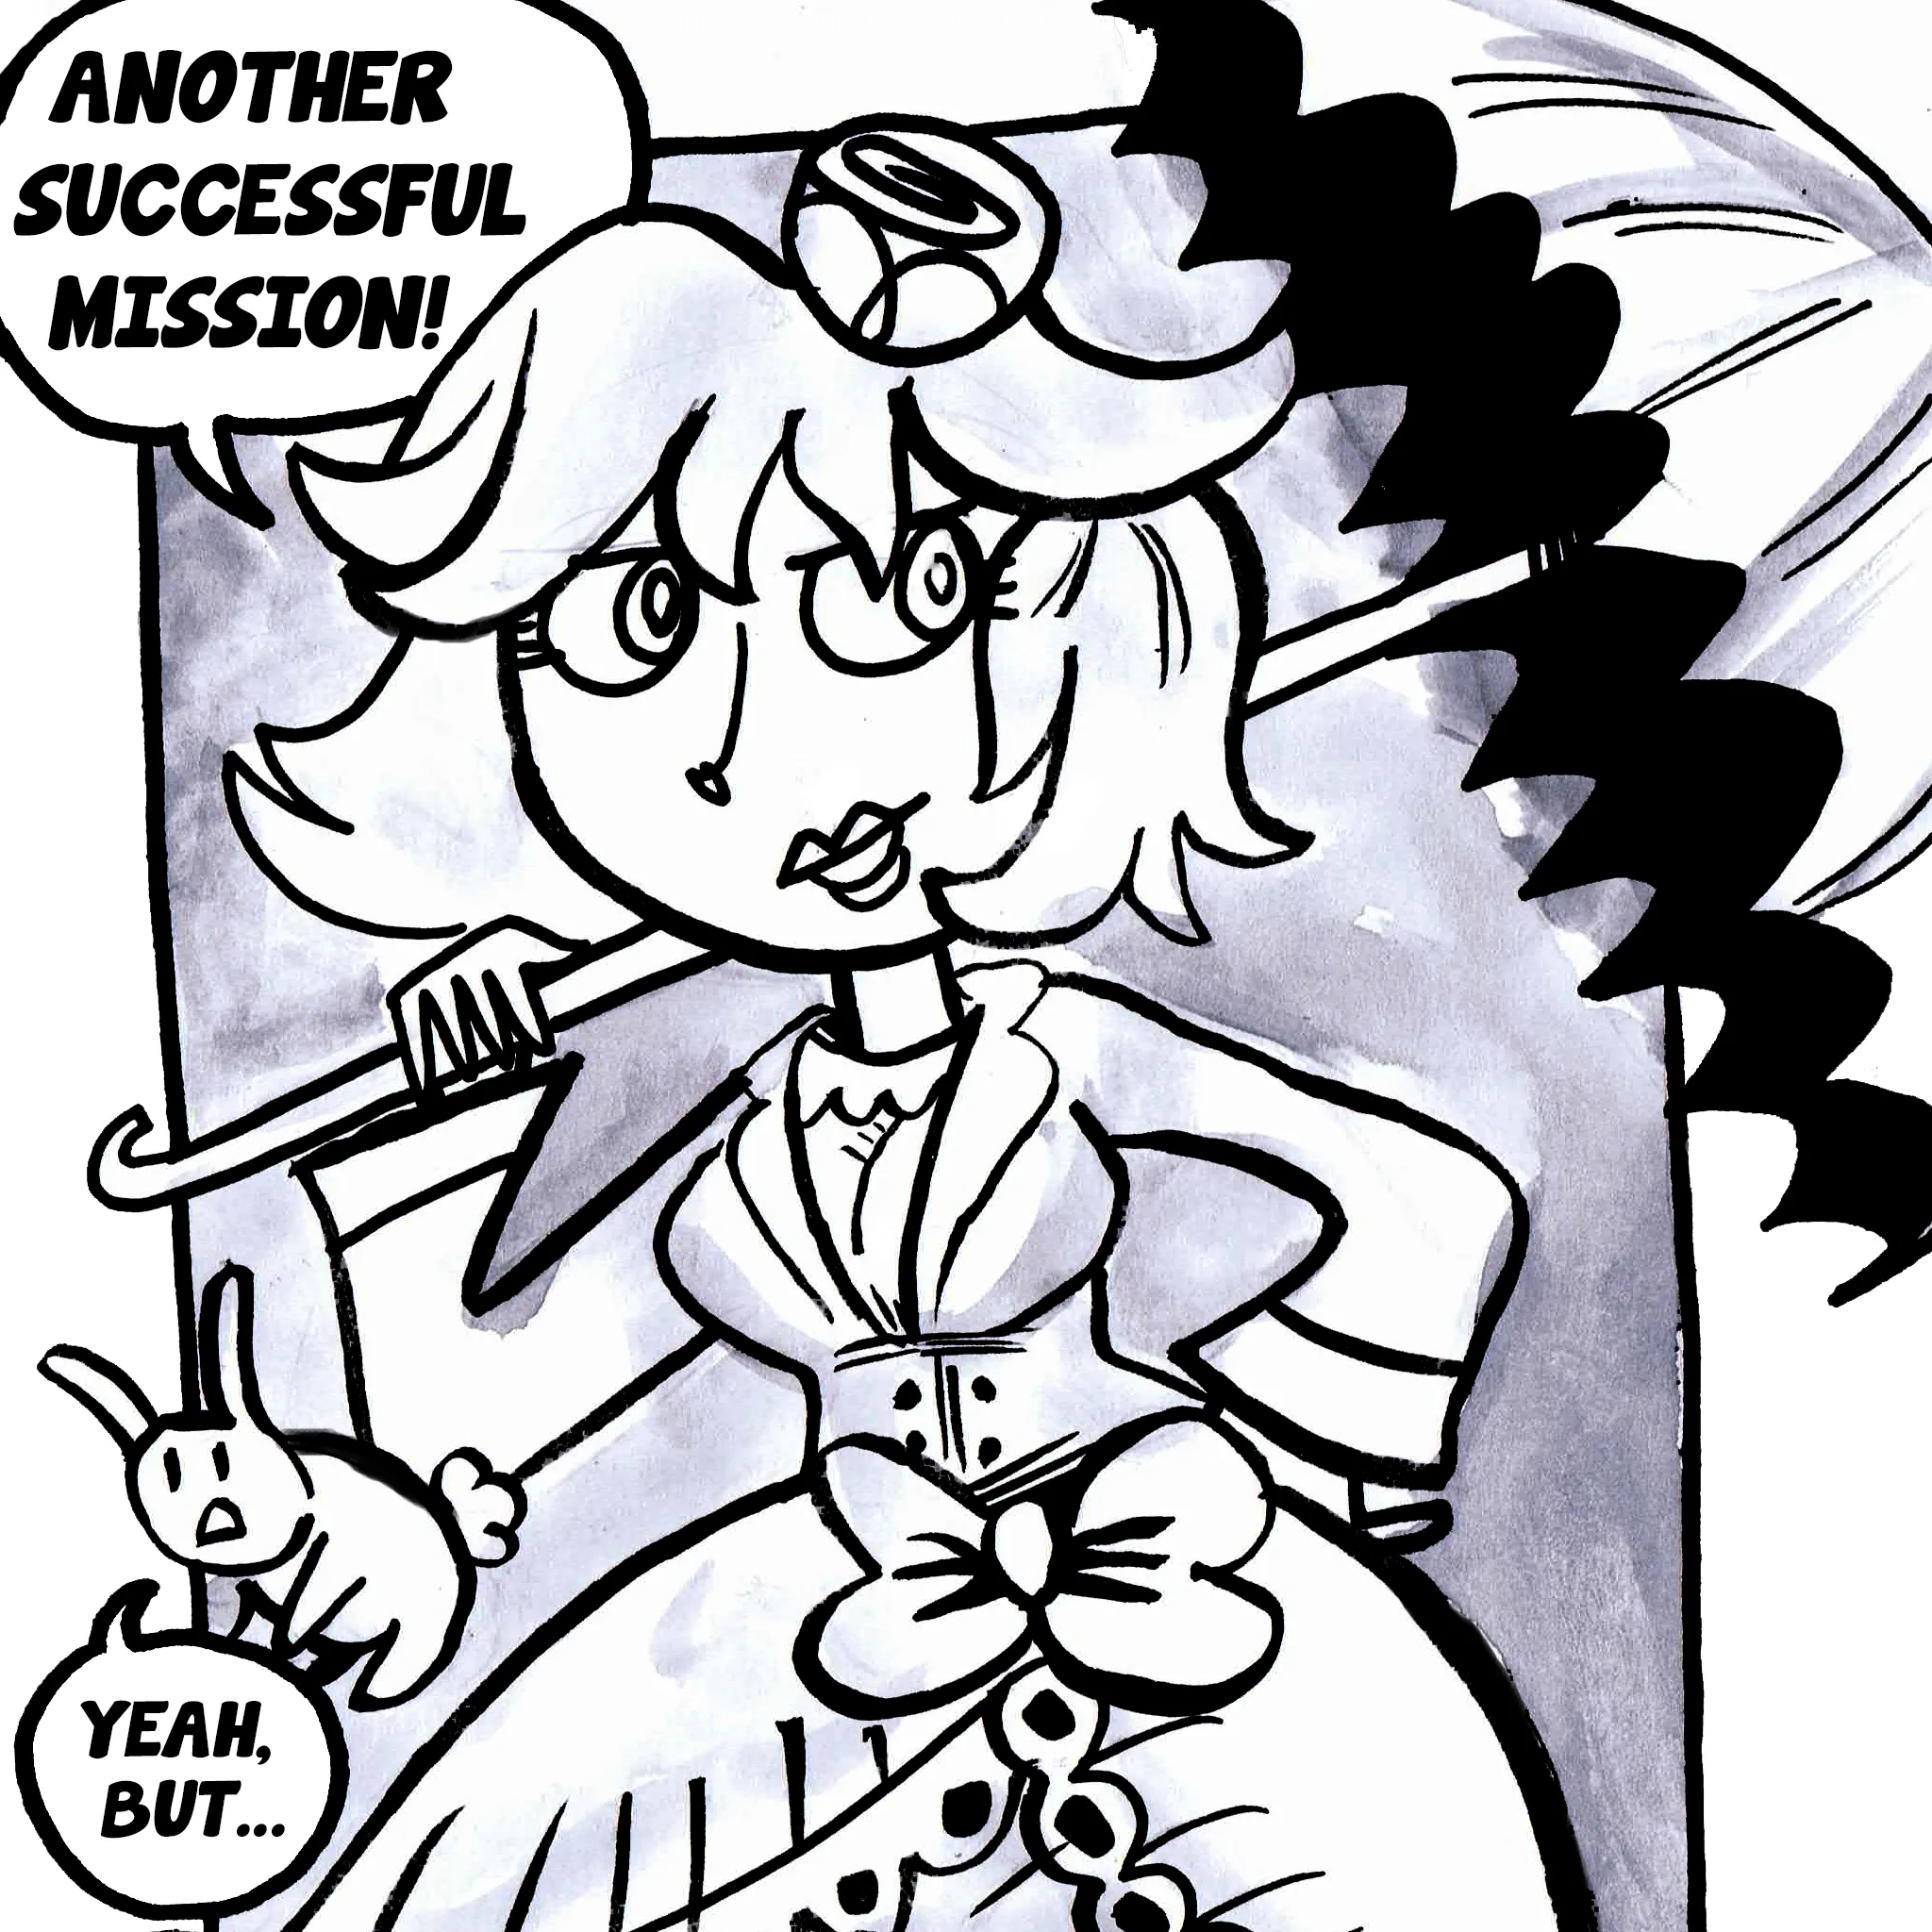
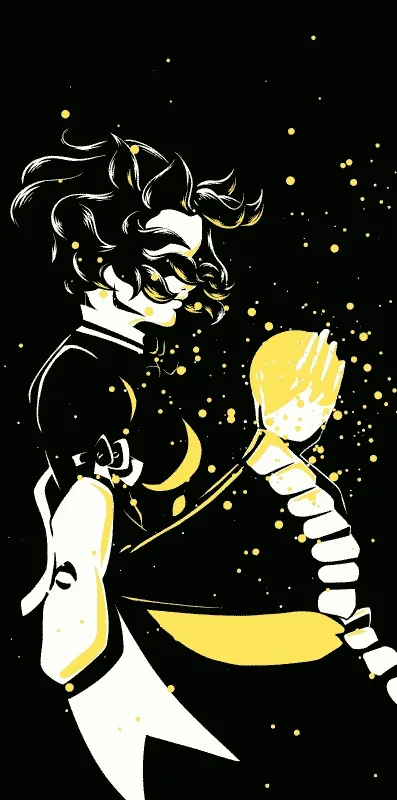
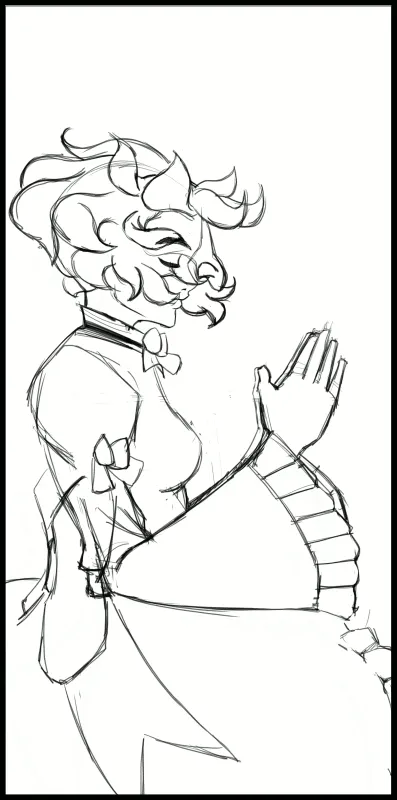
Before we dive into the Blender stuff, here’s the pencils for Kamiko herself. I had to continue the hair rising motion that I did in the first frame of the comic page, and then I had to decide just what her body looked like. How would she be posed? I needed some aspect of her to glow yellow to show where the light came from. I decided to have her in a praying stance and the light emiting from her hands. It’s creating wind that’s causing her hair to raise and causing her dress to sway. The pencil animation covers the motion on her body and clothing and it’s a cyclic animation. The hair and clothing/body are broken down into two layers, because I worked on them as different parts. My GIMP python script allows me to do this — I won’t go into it, you can read about it in the previous article. You can see that the head is a static element and the hair is drawn over top on a separate set of layers that make up the motion.
I’ll admit, I think the clothing is blowing in the wind a lot stronger than the hair is, but when it was done, I decided to just go with it.
The Butterfly Model
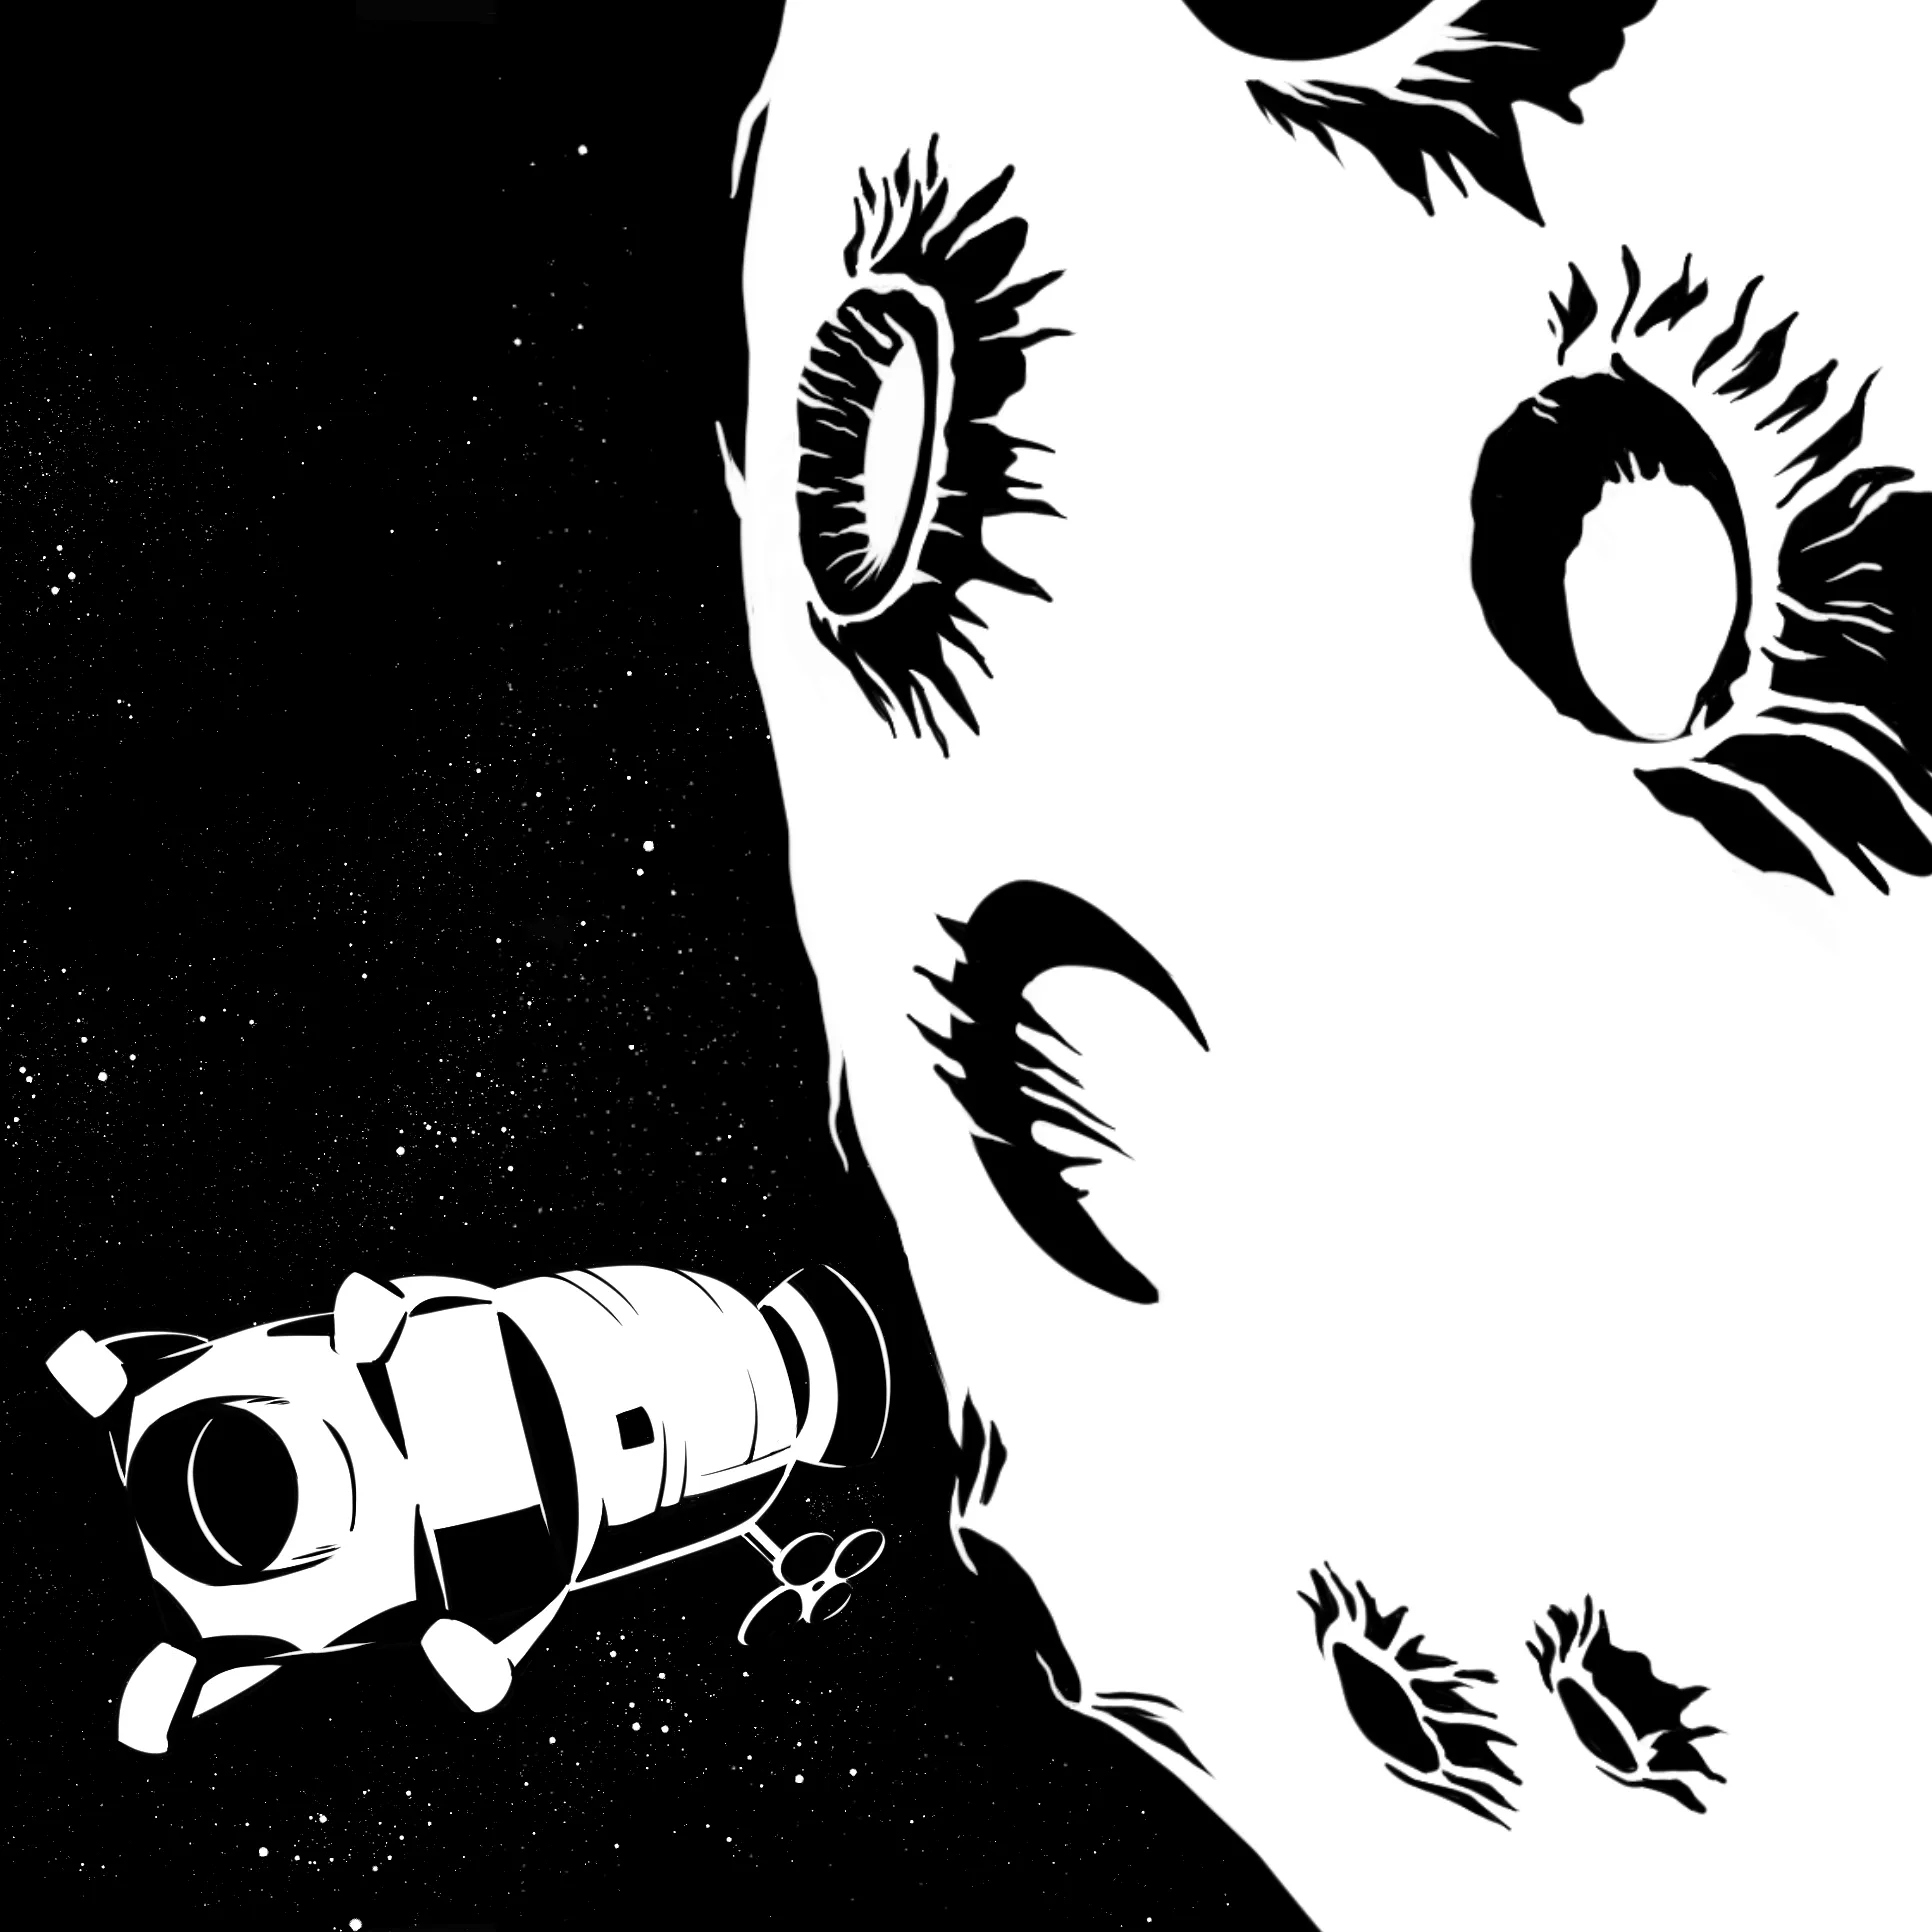
The core idea of this frame is that she’s praying/meditating, and it causes her body to dissolve into a mass of butterflies that flies upwards. I needed a 3D mesh of a butterfly, and while I could probably use someone else’s, I made my own.
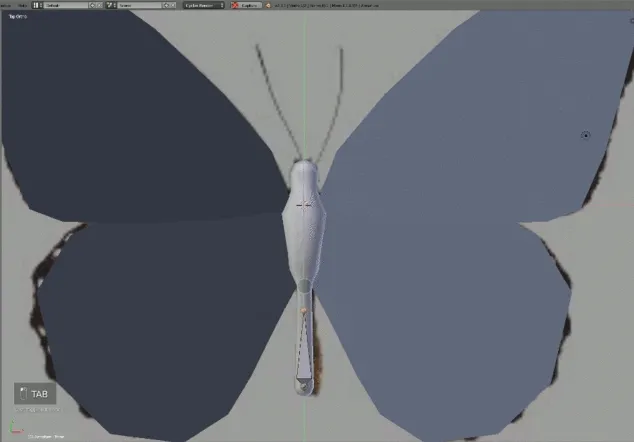
I google searched for an image of a monarch butterfly — a decent top-down image and I dropped that into Blender.
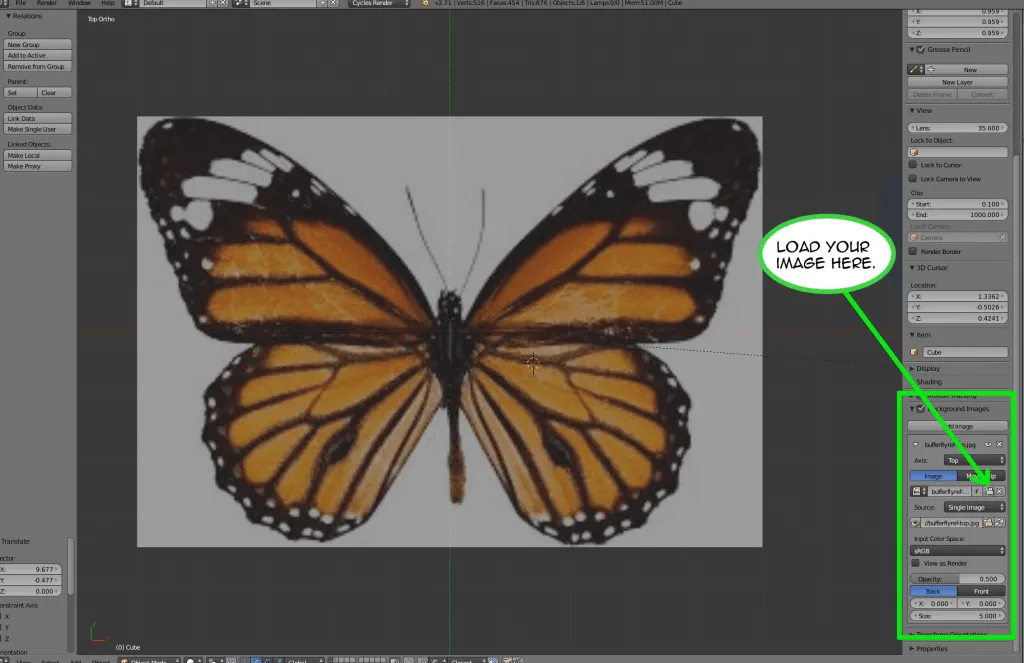
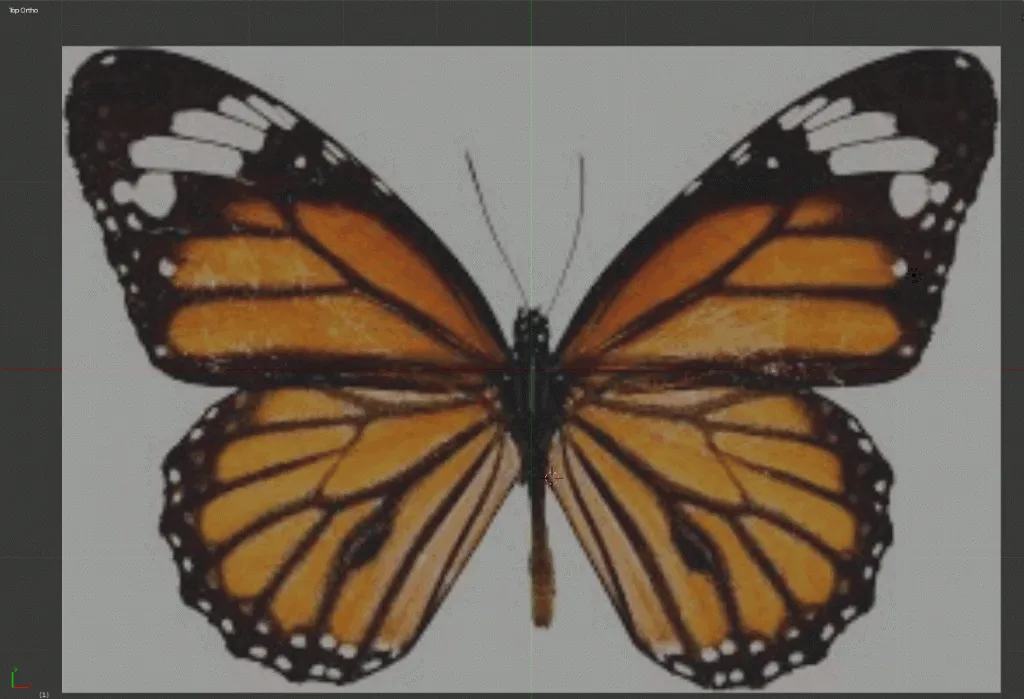
Add the image as a background image in Blender. In the default view there’s a sidebar on the right, and an option called “Background Images.” Check it (to turn it on) and add a new image. From there you can select the file and load it in, adjust the opacity, positioning it, and even decide which view it should show up in — I just had it show in all and I only cared about the top view. I used the top view to model the wing shapes. The body started as a cylinder that I extruded and had it matched the shape of the real butterfly as best I could. I didn’t feel it was important to be anatomically correct since the insect would be really small. Here’s an animated GIF of each part. I made one wing (as two separate meshes) and then the center body. I duplicated and flipped the wings. It didn’t take long to put this model together.
With the model done, I marked the seams and generated a simple UV map. Here’s the UV map and the texture map I created:
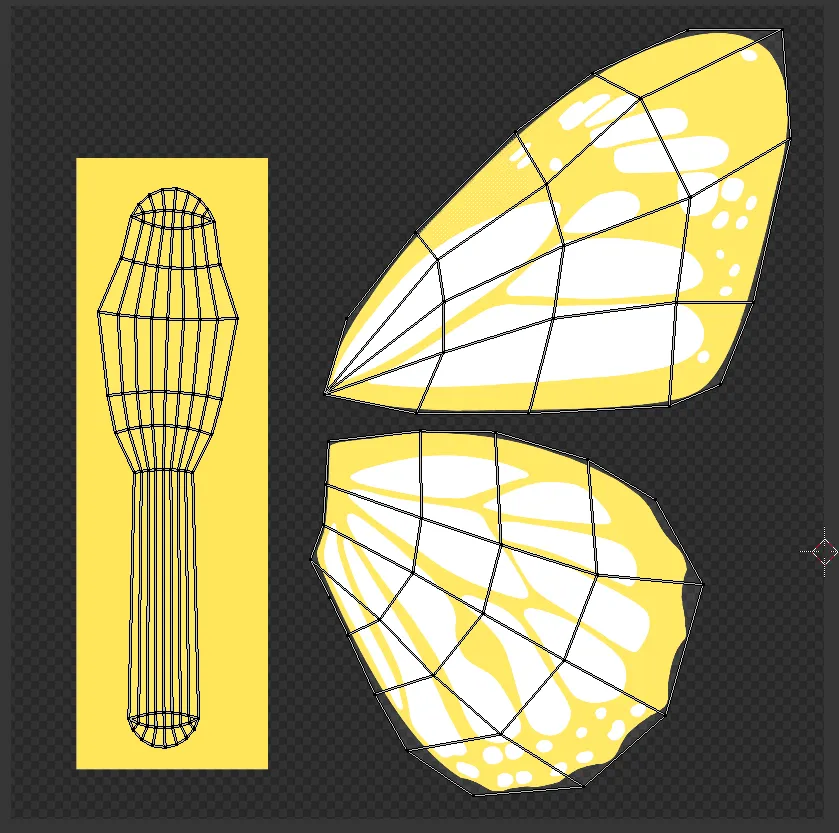
As you can see, the high contrast detail and the wavy edge of the wings are drawn into the texture. Since the left and right wings are the same, I superimposed them over top of one another to save UV space. The body could be a lot smaller, but I figured, it didn’t really matter. I wasn’t making this to run on hardware with limited memory (like a console or mobile phone).
To put the texture onto the mesh and have it respond to Blender Cycles, you need to create a new cycles material. Since this is the way I learned it, I went to the node editor in Blender and based on some tutorials I put together this node configuration to get the high contrast shading I wanted. The emission node is key to getting the high contrast/shadeless look.
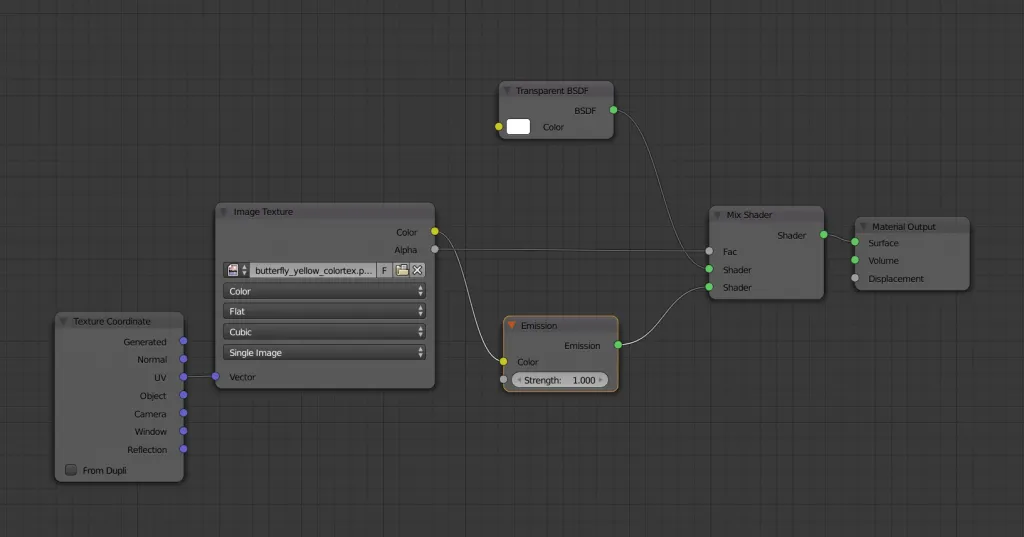
One thing to note, you can use the basic Blender renderer and materials. If you look at the way materials used to be done there is an option called “shadeless” which would be fantastic for me, since it would give me the color without any kind of shading/illumination over top of it. So why not do it that way? I honestly couldn’t figure out how to get a texture map to show using the old Blender renderer, and I knew how to do it with cycles. So yeah, a bit lame, but it works in the end and I get a decent result.
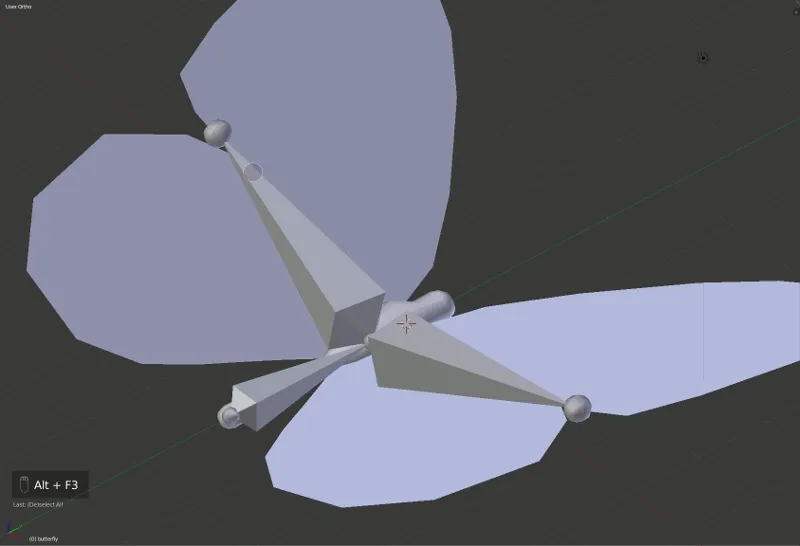
The last part of the butterfly was to give it an armature, and it wasn’t anything too complex either. You create an armature as a separate object, and you work on the armature, much as you would a mesh inside of a model. Place a single bone into the world, hit ‘tab’ to enter the armature and extrude bones as you would faces on a mesh.
To bind the armature to the mesh, select the mesh first and then the armature you just created and hit Ctrl+P. You’ll get the “Set Parent To” menu and choose “With Automatic Weights.” If you don’t get this option, you probably selected the armature first and then the mesh — order does matter here.
This mostly works, but for the butterfly it didn’t entirely capture the bits that needed to move with the right bones — like the wings cause the body to move. The easiest way to fix that is to go to the vertex groups and make sure that all of the vertices associated with the wings are in the right group.
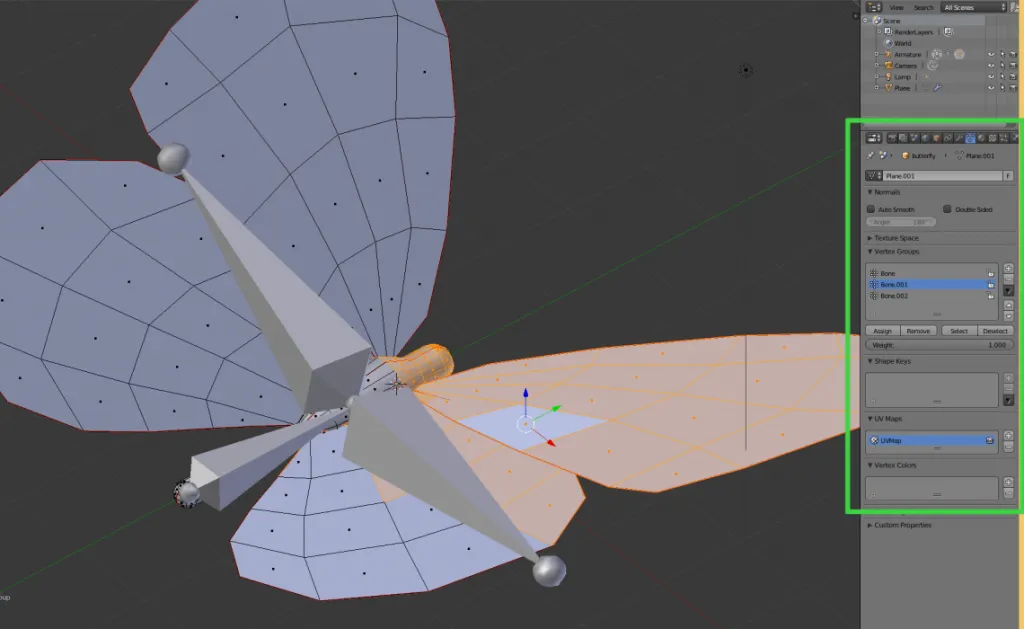
The green box shows the vertex groups. When you parent with automatic weights it will try and figure out which verts belong to what bone. You could view this via the vertex weight paints but it’s a pain to fix them via that interface (at least from my experience). The best way is to select the vertex group and see what’s assigned there. You may want to discard it and just select the vertices you want for each bone and assign them instead.
With that done, we can begin animating the butterfly.
Bone Animation
I did look at video of actual monarch butterflies flapping their wings in slow motion — you can find them on youtube with a quick search. When they do flap their wings, you can see that the wings curl a bit, but with the way my armature is setup, I won’t get that because there aren’t bones and weighing on the mesh to facilitate that. I could modify the armature and weights to give me that, but I figure since the butterflies are small on the screen it’s probably not a big deal to have that kind of detail.
I’m going to make a simple flapping animation that I can loop.
To animate in blender, you can switch the view to “animation” which will show you a dope sheet and a curve graph editor.
To animate the armature I did this:
- Starting with the base pose of the butterfly, I inserted a keyframe (use the ‘I’ key) for my base pose.
- I moved the wing bones to the extreme high point and made another keyframe.
- After consulting with the butterfly wing flapping video, I went to a point below the base pose for the wings and set a key there.
- From there I could scrub through the basic animation I made.
- In the animation view, I could see the graph for the animation, and from there I could turn it into a cyclical (i.e. looping) animation. To do that, hit Shift+E on the graph for the wing animation, and it’ll give you a Make Cyclic (F-Modifier) option.
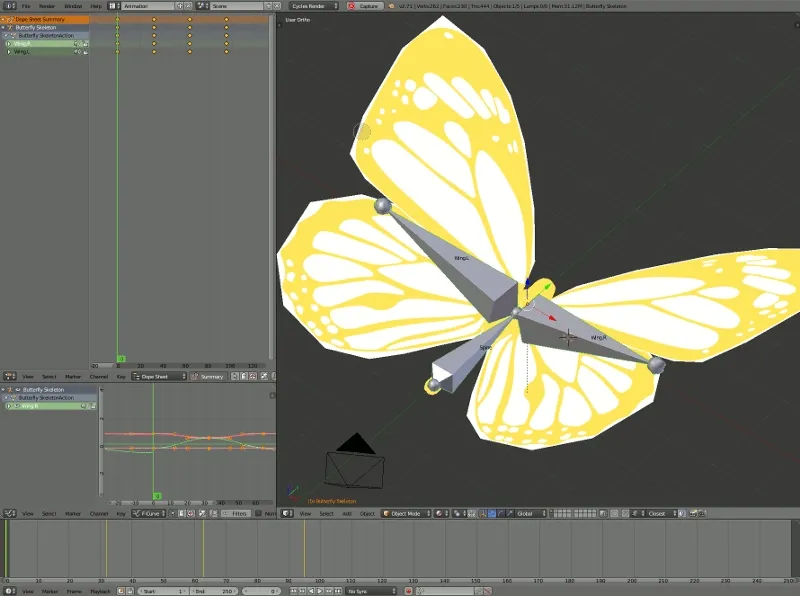
In the GIF above, I’ve increased the number of frames so the Blender screencast tool can capture it smoothly. One thing I did that was probably unnecessary is to add a final keyframe setting the butterfly back to the original pose. When it loops, it should, in theory, go back to the base pose and cycle through the animation again. In either case, it’s good enough for my purposes.
Butterfly Group
That’s basically it for the butterfly. To finish up though, we want to make it so that we can easily duplicate the butterfly. We want that because the particle system will have a lot of butterflies and we don’t want them all flapping their wings at the same time (not because it’ll cause a hurricane somewhere, it’ll just look really weird and robotic).
To make it easy to duplicate, parent both the armature and butterfly model to a third object (a cube) and then put them all into the same group. This way you can append the object into other .blend files and duplicate them easily.
Boid Particle System
First, what is a boid? I remember from my computer animation classes (we’re talking about animation from a programming perspective, not an artistic one), we discussed boids. The idea is to create a particle system where the particles could move with some intelligence. Like birds flying through the sky, they could flock together, separate and avoid colliding into things, fight other flocks, etc. If you remember the Lord of the Ring movies and the epic battles, those are probably some boid systems on steroids. Blender’s got a boid system built into it’s particle system and I want to do that to animate my butterflies.
Setting up a particle system is easier than it looks — the plethora of options make it look daunting. First, you need a mesh to act as an emitter. That mesh can be anything — so a sphere or cube could be a good way to start. You select that 3D model and you create a particle system on it.
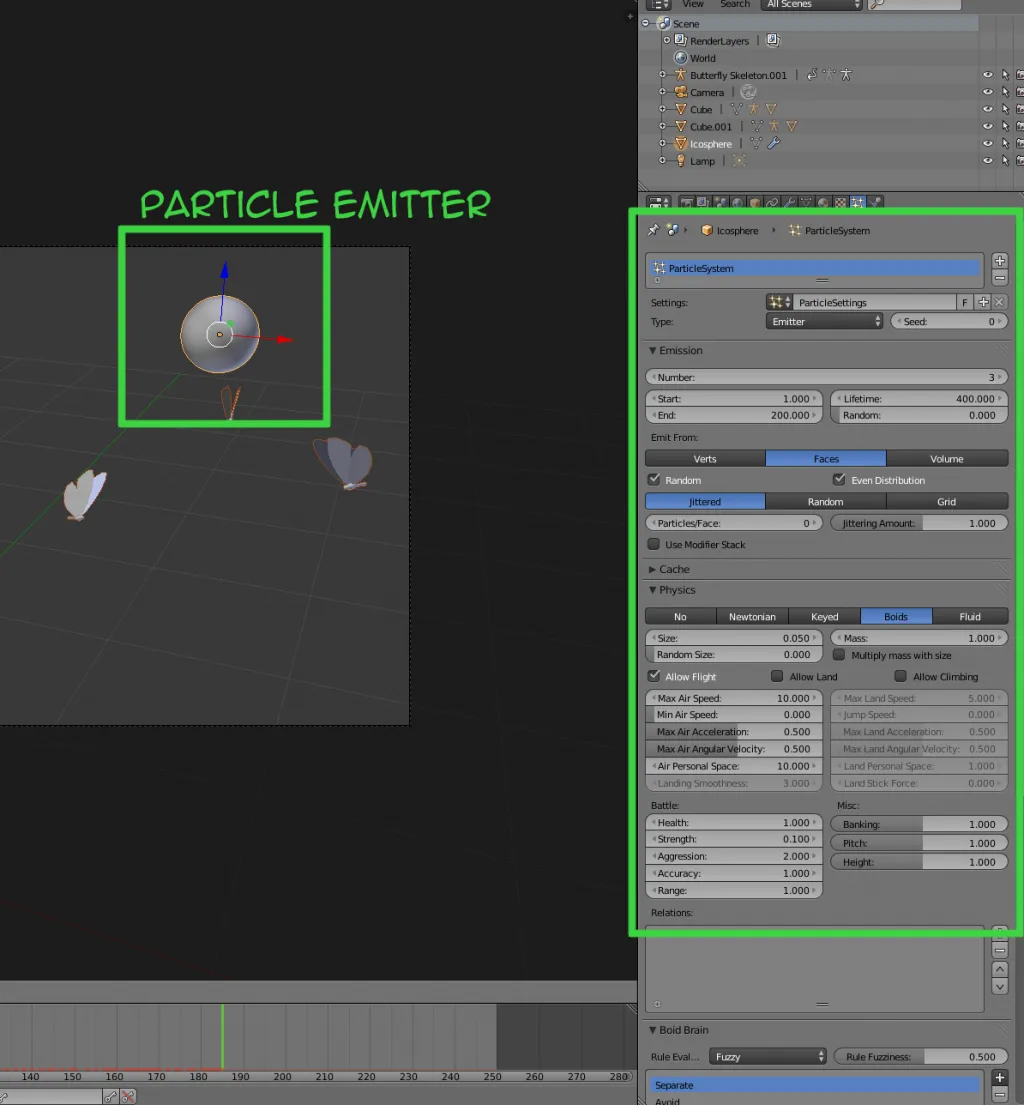
In the image above, the sphere is the emitter and on the property panel I’ve created a new particle system. There is a daunting amount of buttons and collapsed tabs hidden for a new particle system. For a test boid particle system you can do this:
- Under Emission, set it to a low number. I set it to 3 for this demo and that means 3 particles will be created. You can set it to a thousand or more if you wish, but at least you can see what’s happening clearly with a low number.
- Start and End give a range for all of those particles to be created. We’re saying that over the course of 200 frames we’ll make 3 butterflies. You could change it so you make all butterflies up front. Lifetime tells you how long a particle/butterfly will live. I set it longer than my animation because I don’t want them dying part way through.
- Emit From I kept as is, but it allows you to emit particles from faces, or the volume of the object, or vertices, and give it a random placement.
- Under the Physics tab I choose ‘Boids’ and all of that stuff I kept as is.
- The interesting bit about boids is the Boid Brain section. There are various commands like “Separate” and “Flock” and many more that you can include. The boid brain will randomly choose between these different commands as it simulates the particles and you’ll end up getting various behaviours from your boids.
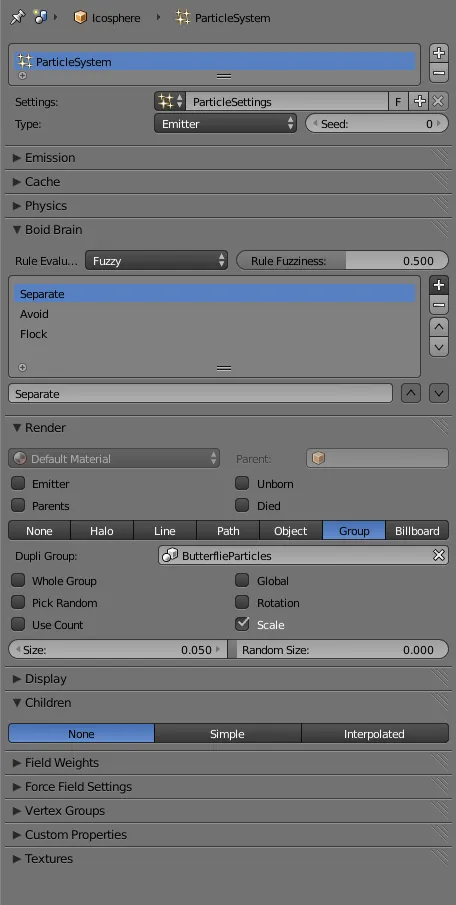
- In the Render tab, under Group (see image below), that’s where you want to select your butterflies (mine are called “ButterflyParticles”). You can scale them (I scaled them up a little bit).
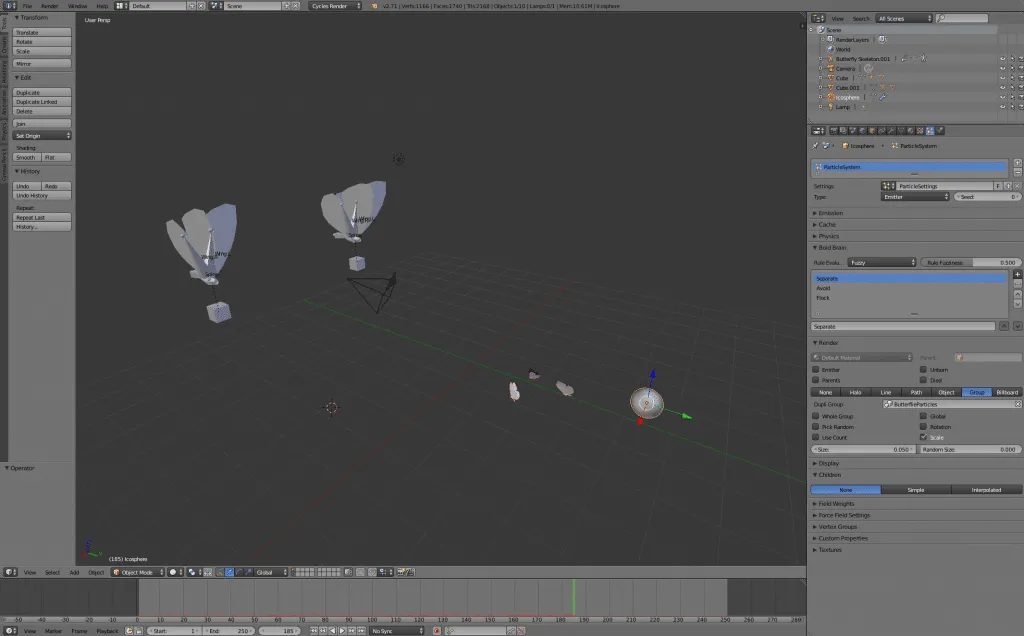
The butterflies need to be on the same layer as the particle system in Blender. That means, they need to be sitting in the scene off-camera somewhere, otherwise the wing flapping animation won’t play at all. Here’s what the full scene looks like:
To get butterflies that flap at different rates, duplicate the original butterfly a few times. Go to the animation timeline, and select the keyframes for that instance of the butterfly and scale them up or down to speed up or slow down the flapping. To make your final particle group, grab just the meshes for all the butterflies and make a new group — I called mine “ButterflyParticles.” I assigned this new group to the particle system and it knows how to randomly pick the different meshes inside of the group.
With all of this setup, if you simulate, hopefully you’ll see your butterflies animating. You’ll see butterflies flapping at different rates and hovering around one another. Add more butterflies and you can begin to see the various boid behaviours take shape.
Animation Frame Setup
To make the final animation for my comic page, I wanted a particle emitter that would move along a path. The emitter itself could have been a plane, but I thought it would look better as a curve. Here’s a rough diagram of what I wanted to try and do:
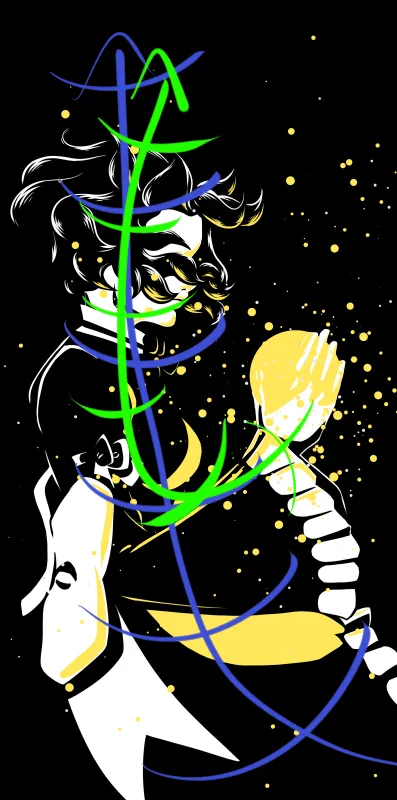
There would be two separate particle systems, a blue and green one. One would come from the hands and the other from off-screen and both would sweep up past the top of the frame. All the while it would be emitting butterflies and they would flock with one another. Another thing I haven’t mentioned was that, in the Boid Brain setting you can set a boid goal. You can define a mesh and have the boids seek it out, which is what I did to get the flock to drive upwards and away.
There’s a lot of little dot particles floating about the scene too. What I did was to duplicate the particle systems I created for the boids and reassigned them with a basic particle system that would emit a group of animated spheres. The spheres oscillate in size (keyframe animated) and move at different speeds and have different colors (yellow and white). It also responds to a turbulence forcefield which will cause it to move quickly, slowly, or zig-zag around.
Here’s the final setup:
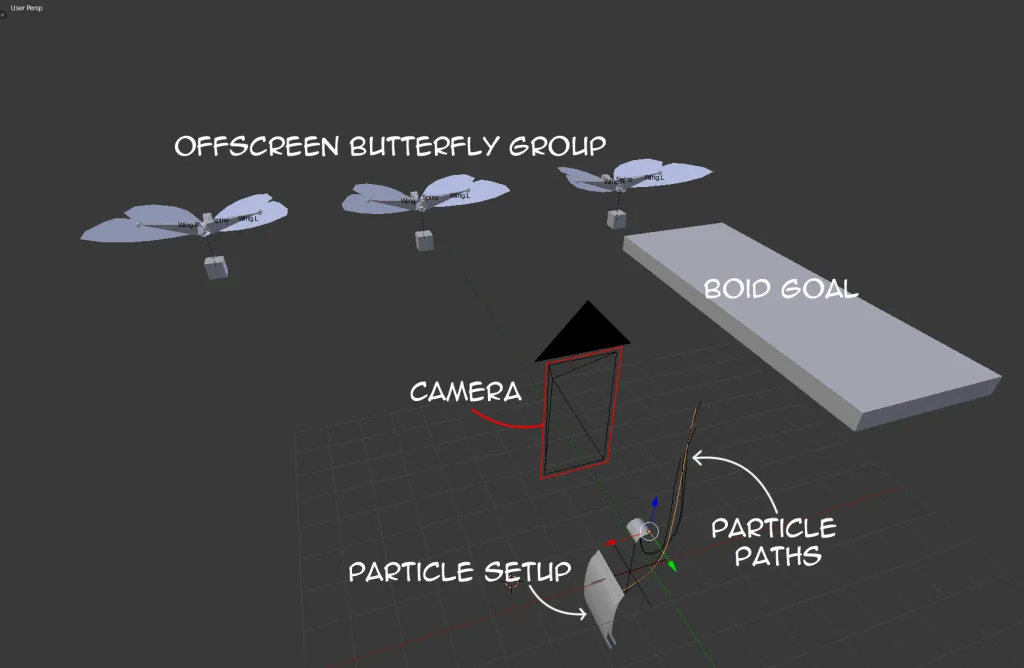
The camera is set to the pixel size of the hand drawn frame. The animation was rendered as a sequence of images. Using GIMP, I consolidated the images into a layer group and imported it into my Manga Studio project.
As the butterflies sweep up Kamiko, she has to disappear to finish the effect. With the image sequence loaded into my project file with Kamiko, I went frame by frame and rotoscoped her out. Since the background was black, I just painted black over her. This way I could continue to run the looping hair and dress swaying animations while the butterflies and black sweep up showing her disappearing.
It took me a few days to learn how to use Blender’s particle systems to do this, but in the end, I think it was worth it. I’ll be able to use this technology again in other pages. I did use it for firework animation before, but those particles weren’t actually simulated. Looking back, it would probably be really easy to have done that.
If you read through to the end, I hope you learned something that you can use for your own Blender project. Happy Blending and thanks for reading this blog post and This Mortal Coil. If you have any comments or questions, please leave a comment below and I’ll try to answer you.